Table of Contents
- How Water Gets Into Log Walls (and Why It Matters)
- Sealing Cracks, Checks, Gaps, and Joints Between Logs
- Log Home Chinking Maintenance: Keeping the Water Barrier Intact
- Choosing the Best Sealer for Log Homes and Applying It Correctly
- Roof Overhangs, Gutters, and Drainage: Redirecting Water Away
- Your Log Home Maintenance Checklist for Every Season
- Repairing Water-Damaged Logs: Diagnosis and Next Steps
- When to Call a Professional for Log Water Damage
- Frequently Asked Questions
Last Updated: October 15, 2026
How Water Gets Into Log Walls (and Why It Matters)
Preventing water damage in log structures rarely starts with a dramatic leak. It starts with a hairline crack, a clogged gutter, or a finish that stopped repelling rain two winters ago.
Preventing water damage in log structures comes down to one principle: keep exterior logs dry, and give any water that lands on them somewhere fast to go. Logs absorb and release moisture constantly, which is normal; problems begin when logs stay wet long enough for rot fungi to establish.
Water damage in log structures is almost never caused by one failure. It’s the result of several small defenses, finish, chinking, drainage, grading, all wearing down at once.
Sealing Cracks, Checks, Gaps, and Joints Between Logs
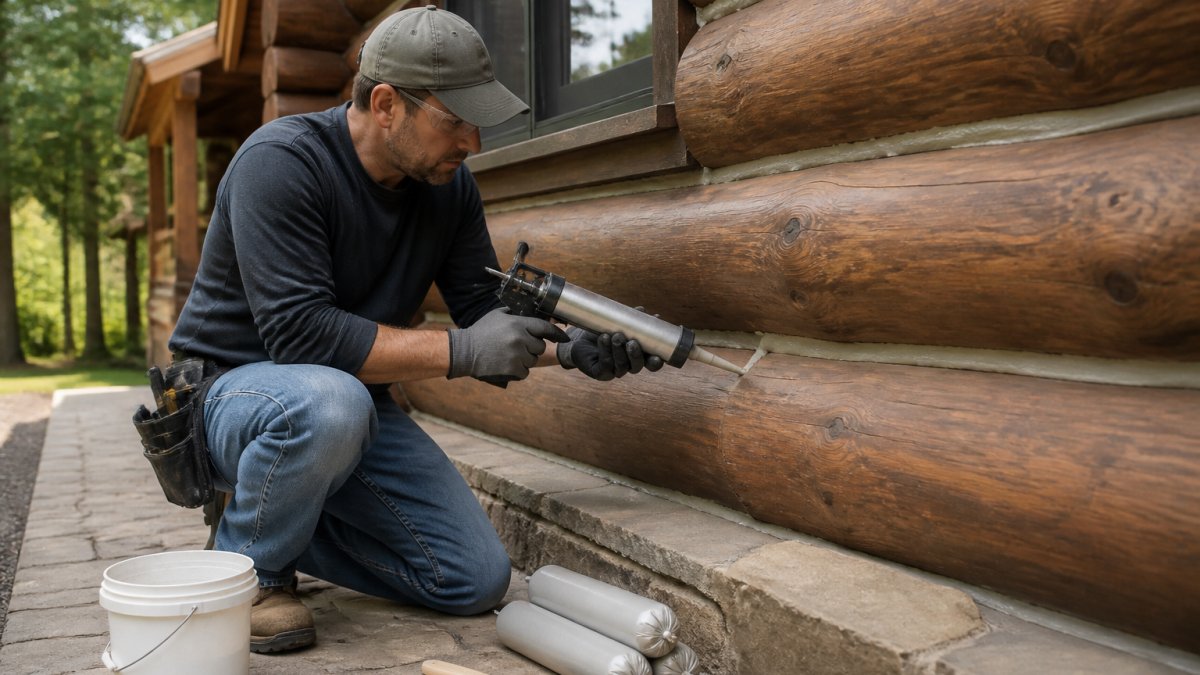
Sealing is your first line of defense, and where most owners start, often too late. As logs season, they shrink and develop checks (lengthwise cracks in the wood face) and gaps at the joints. Checks are natural, but unchecked gaps let wind-driven rain into the wall assembly.
Walk the exterior after a heavy rain and look for dark streaks, damp patches, or staining below a gap. Those are your priority sealing targets. The sequence matters:
- Clean the gap or check so sealant can bond to bare wood, not dirt or old failed caulk.
- Let the wood dry completely before sealing. Trapping moisture under fresh sealant causes rot faster than leaving the gap open.
- Apply a flexible sealant rated for exterior wood movement. Rigid fillers crack as logs continue to move seasonally.
- Recheck every sealed area the following spring for separation.
A common mistake is sealing wide gaps with caulk alone. Anything beyond a narrow joint needs backer rod or chinking material.
Log Home Chinking Maintenance: Keeping the Water Barrier Intact
Chinking is the flexible material filling the joints between log courses and acting as the wall’s water barrier. Log home chinking maintenance is the most overlooked task on most properties, and the most consequential.
Inspect chinking each spring and fall for cracking, pulling away, or gaps at the edges. The most common failure point is where chinking meets the log surface.
- Look for hairline cracks that widen in cold weather
- Check the underside of joints, where water pools
- Probe soft or crumbling sections with a screwdriver
Repair small sections promptly. Waiting a season lets water work behind the chinking and into the log itself.
Choosing the Best Sealer for Log Homes and Applying It Correctly
The best sealer for log homes is formulated specifically for exterior log and timber surfaces, with UV protection and water repellency, applied to clean, dry, prepared wood.
Match the product to what’s already on the wall. You cannot reliably coat a film-forming finish over a penetrating oil, or the reverse, without knowing what’s there.
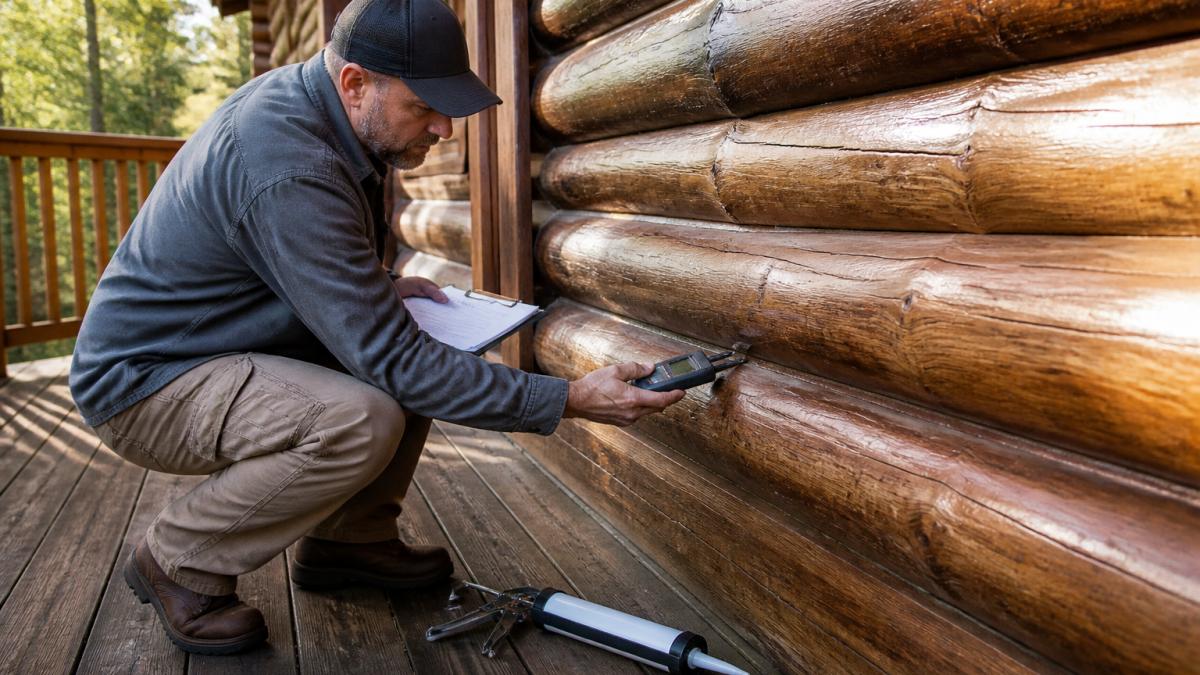
Test moisture before you coat, and use a number, not a guess. A pin-type moisture meter pressed into the log face gives you a reading.
Know your product categories before you buy.
- Penetrating water repellents soak into the wood and slow moisture absorption without forming a surface film. They’re breathable, easy to recoat, and a good fit for weathered logs.
- Film-forming stains and sealers build a protective layer on the surface. They offer stronger UV and water protection but can trap moisture if applied over damp wood or a failed film, and require more prep to recoat.
- Chinking and sealants are not finishes, they’re the joint barrier. They belong in the gaps, not on the log face, and must remain flexible as logs move.
Application essentials:
- Clean the logs first. Mildew, dirt, and old finish prevent adhesion.
- Test moisture before applying. Sealing damp wood traps water and causes rot.
- Apply in dry conditions with no rain forecast for 24 to 48 hours, avoiding temperatures below the manufacturer’s minimum or direct midday sun that skins the finish over before it penetrates.
Check the finish on your most sun-exposed wall first. If water beads on it after a rain, it’s still working. If it soaks in immediately, it’s time to recoat, even if the rest of the house looks fine.
Never apply a film-forming stain or sealer over logs reading above roughly 15% moisture content. You’ll trap water inside the wood, and the finish will fail from the inside out, often within a single season.
Roof Overhangs, Gutters, and Drainage: Redirecting Water Away
Roof overhangs are the cheapest water protection a log home has, and the most underappreciated. Wide overhangs shield log walls from direct rain and reduce how much water reaches the finish.
Gutters and downspouts handle roof runoff. When they clog, water sheets down the walls and pools at the foundation.
Then look at the ground. Grading should slope away from the foundation so surface water drains off rather than sitting against the logs.
- Direct downspouts at least several feet from the foundation
- Regrade any low spots that hold water
- Pull mulch and soil back from the base log
Piling mulch or soil against the bottom log course is one of the fastest ways to rot a log home. The base stays damp, airflow stops, and decay starts where you can’t see it.
Your Log Home Maintenance Checklist for Every Season
A log home maintenance checklist turns prevention into a routine instead of a reaction. Split the work by season, and inspect after every major storm regardless of the calendar.
Spring
- Inspect chinking and sealant for cracking or separation
- Check gutters and downspouts for winter debris
- Look for moisture stains, dark streaks, or soft spots on logs
Summer
- Clean logs and treat any mildew
- Recoat finish on walls that have failed
- Repair chinking and sealant while weather is dry
Fall
- Clear gutters before leaves and snow arrive
- Verify grading still slopes away from the foundation
- Seal any new checks and gaps before freeze-thaw cycles
Winter
- Watch for ice dams and icicle buildup at the eaves
- Keep snow from piling against the base logs
- Note any interior moisture or drafts for spring repair
Moisture is the early-warning signal. A pin-type moisture meter pressed into suspect logs gives you a number instead of a guess, a consistently higher reading than a dry wall points to water intrusion you haven’t found yet.
Repairing Water-Damaged Logs: Diagnosis and Next Steps
Repairing water-damaged logs starts with finding the source, not the symptom.
Trace the source before you touch the damage. Water rarely enters where it shows up, it travels along grain and inside walls before surfacing. Work backward from the symptom:
- Roof or flashing leak, staining high on a wall, on a ceiling, or in an upper corner, often with a musty smell after rain. Check step flashing at wall intersections, chimney flashing, and any roof penetration above the stain.
- Failed sealant or chinking, a dark streak or damp patch directly below a joint, or a stain that follows the line of a log course. The joint above the stain is the suspect.
- Splashback, rot or staining on the lower two or three log courses, especially on the side that takes prevailing weather. Caused by rain hitting the ground or a hard surface and bouncing back onto the logs.
Measure before you decide. A pin-type moisture meter pressed into the suspect log gives you a number; compare it to a known-dry log on the same wall.
Probe to judge depth, not just surface. A screwdriver pressed firmly into the suspect area tells you how far decay goes.
The repair decision tree:
- Surface rot on a sound log, the log is firm below a shallow soft layer, and the moisture source is fixed. Scrape out the decayed wood, treat with an exterior-grade wood preservative, and consolidate with an epoxy formulated for exterior wood. Seal and refinish.
- Localized decay with intact structure, decay is deeper but the log still carries load and the affected area is small. Remove and replace the damaged section with log-matched material, or use a structural epoxy repair system designed for log repair. Re-chink and refinish the joint.
- Decay through the log’s depth, or rot at a structural connection, the log has lost section, or the damage reaches where logs meet, notch, or bear on a support. This is beyond homeowner patching. A log-restoration specialist should assess whether the log can be sistered, replaced, or requires shoring.
- Widespread or recurring moisture, multiple walls affected, or the same area failing repeatedly after repair. The water path hasn’t been found. Stop repairing and diagnose the source before spending more on materials.
Match materials to the repair. Exterior-grade preservative and epoxy for consolidation, log-matched replacement sections for structural loss, and chinking or sealant to close the water path.
Fix the water path first, measure the moisture second, and only then decide whether to treat, replace, or escalate. Skipping the first two steps is why so many log repairs fail.
When to Call a Professional for Log Water Damage
Call a professional when water damage reaches beyond surface finish, rot affects structural logs or connections, or you can’t find the source of ongoing moisture. Log home restoration and chinking require specialized materials and technique.
Warning signs that it’s time to bring in help:
- Soft or spongy logs, especially at corners or near the base
- Rot that extends deeper than the surface
- Chinking failure across large sections of the wall
- Recurring moisture you can’t trace
Midwest Maintenance LLC has handled log home restoration, chinking, staining, and ice dam removal for the greater Lakes area since 2008, with free consultations. If you’re unsure whether a soft corner or failing chinking needs attention, a professional inspection answers that question before the damage spreads.
Frequently Asked Questions
What is the best sealer for a log cabin?
The best sealer for a log cabin depends on your climate and the condition of the logs. Look for a breathable, water-repellent stain or sealant designed for exterior wood. Water-based acrylics offer easy cleanup and UV protection, while oil-based formulas penetrate deeper. Avoid film-forming sealers that trap moisture. Apply a test patch to check adhesion and color. Reapply when water stops beading, typically every 3 to 5 years.
What stops log cabins from rotting?
Rot prevention starts with keeping logs dry. Seal cracks and checks, maintain chinking and caulk, and ensure proper roof overhangs, gutters, and grading to direct water away. Use a breathable stain or water repellent, and inspect regularly for moisture stains or soft spots. Fix any water intrusion promptly. Without these steps, moisture buildup leads to wood decay and costly repairs.
How often should you reseal a log home?
Most log homes need resealing every 3 to 5 years, but exposure to sun, rain, and snow can shorten that interval. Check annually by sprinkling water on the logs; if it soaks in instead of beading, it’s time to recoat. In harsh climates, plan on recoating every 2 to 3 years. Always clean the surface and let it dry before applying a new coat.
How can you tell if logs have water damage?
Look for moisture stains, discoloration, soft or spongy spots, and cracked or peeling finish. Probe suspect areas with a screwdriver; if it sinks easily, decay may be present. A moisture meter reading above 20% indicates a problem. Check around windows, doors, and lower logs where water often collects. Early detection makes repairing water-damaged logs much simpler.
When should water-damaged logs be repaired or replaced?
If damage is limited to surface rot or small cracks, you can often repair by filling with epoxy and sealing. When logs are soft, crumbling, or show fungal growth, replacement may be necessary. A rule of thumb: if more than 25% of a log’s cross-section is compromised, replace it. Consult a professional for structural concerns, especially on load-bearing logs.
How do you prevent water from entering between logs?
Prevent water intrusion by maintaining chinking and caulk joints. Inspect them each spring and fall; reapply as needed. Ensure roof overhangs are at least 24 inches to shield walls from rain. Keep gutters clean and extend downspouts away from the foundation. Proper grading and drainage also help. These measures keep logs dry and reduce the risk of rot.
Log structures are built to last generations, but only if water is managed season after season. The owners who avoid costly repairs aren’t lucky; they inspect, seal, and drain on a schedule. If your log home has soft spots, failing chinking, or drainage that needs attention, Midwest Maintenance LLC brings dedicated log home and wood care expertise, comprehensive restoration, and free consultations to protect your investment. Call today to schedule your assessment.

Comments are closed