A professional log home restoration follows a clear system. The goal is simple: fix what’s damaged, stop moisture problems, and protect the wood long-term. Below is a step-by-step breakdown of what a proper restoration process looks like and why each step matters.
If you’re deciding whether your home needs restoration or maintenance, start here: LOG HOME RESTORATION
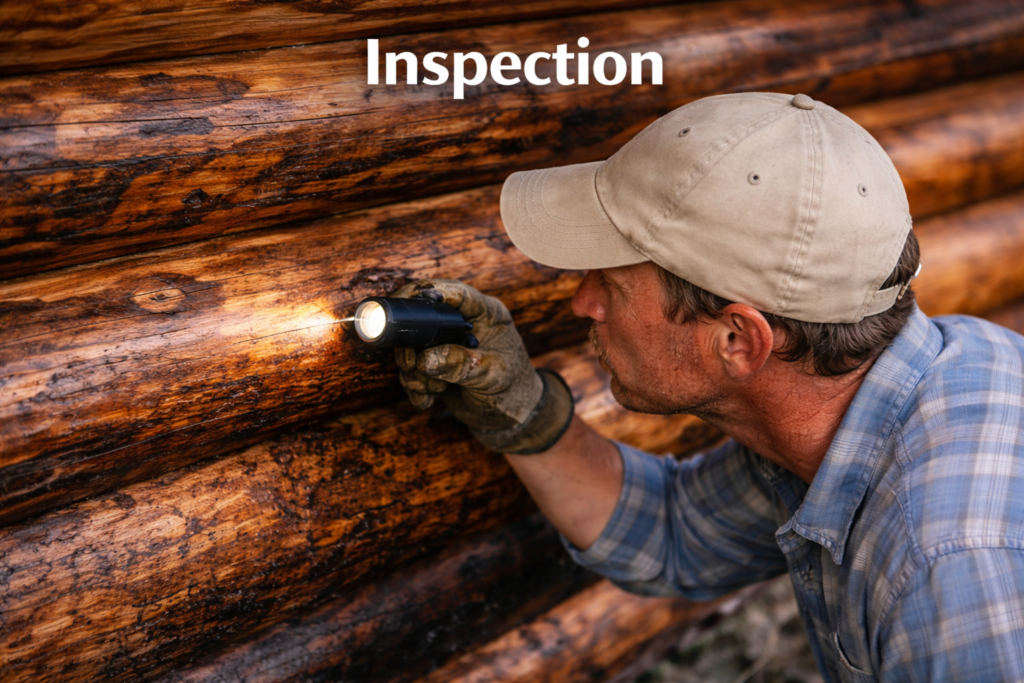
Step 1: Inspection (Find Problems Before You Start)
Restoration starts with inspection because the surface issues you see (peeling stain, black logs, cracks) usually come from bigger causes like moisture entry, UV exposure, or failed sealing.
During inspection, we look for:
- stain failure and UV damage
- black staining, mildew, or algae
- open joints and failed chinking/caulking
- soft wood and rot (especially bottom logs and log ends)
- gutter/roofline issues that dump water onto logs
- splashback from soil, decks, or patios
If rot is present, repairs may be needed before staining. LOG ROT REPAIR
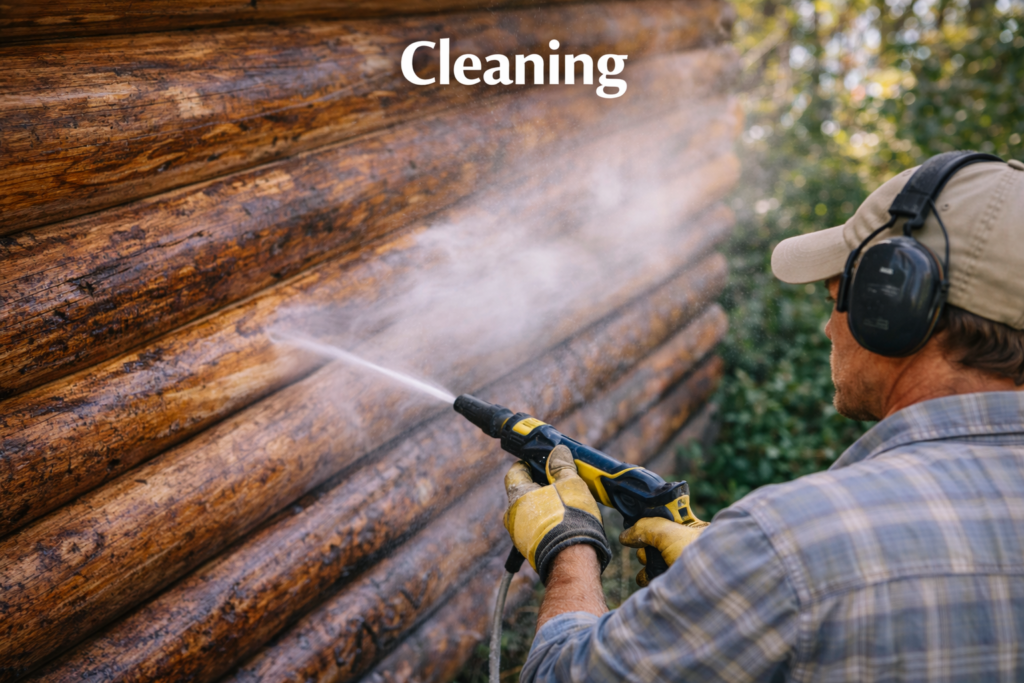
Step 2: Cleaning (Remove Dirt, Growth, and Old Residue)
Cleaning is critical because stain and sealants won’t bond well to dirty or contaminated wood. A proper cleaning step removes:
- dirt and dust
- organic growth (mildew/algae)
- loose stain residue
- surface discoloration
This step also helps expose hidden damage that may not be visible before washing.
For professional exterior cleaning, see: LOG HOME CLEANING
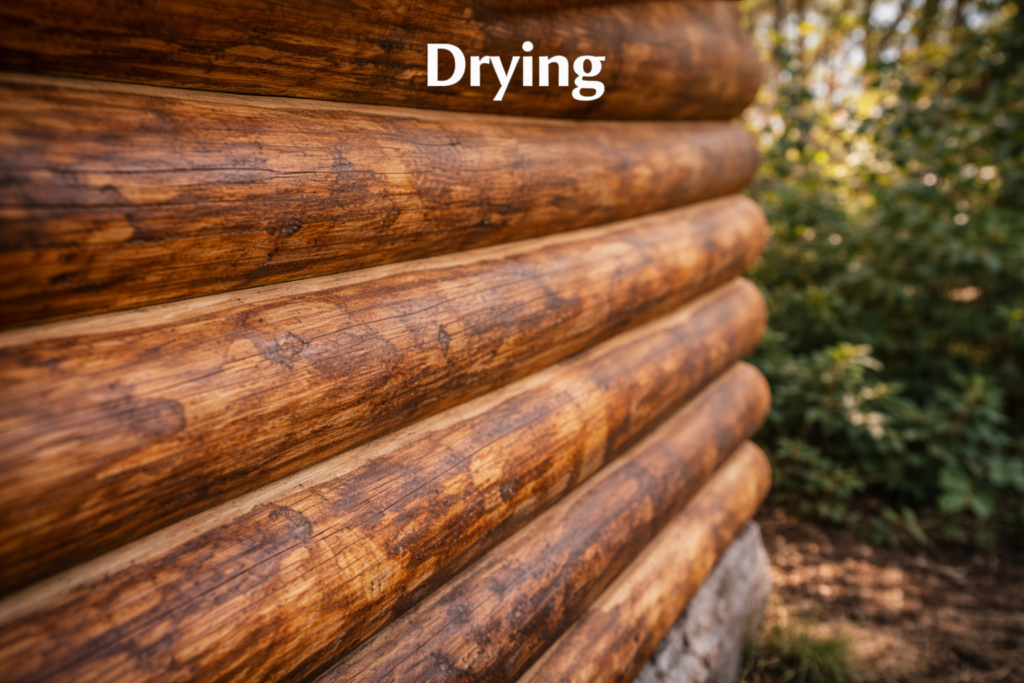
Step 3: Drying (Don’t Trap Moisture)
After cleaning, logs must dry properly before repairs or staining. This step is often rushed — and that’s one of the biggest reasons finishes fail early.
Drying time depends on:
- temperature and humidity
- sunlight exposure
- how much water the logs absorbed
- airflow around the home
If you stain or seal too soon, you can trap moisture behind the coating, which leads to:
- peeling stain
- black staining
- faster rot development

Step 4: Repairs (Fix Wood Damage and Stop Rot)
Once the surface is clean and dry, repairs can be done correctly. Repair work may include:
- repairing or replacing rotted sections
- rebuilding damaged log ends
- epoxy repair where appropriate
- sealing deep checks (cracks) that trap water
- tightening or correcting problem areas around windows and doors
Rot repair page: LOG ROT REPAIR
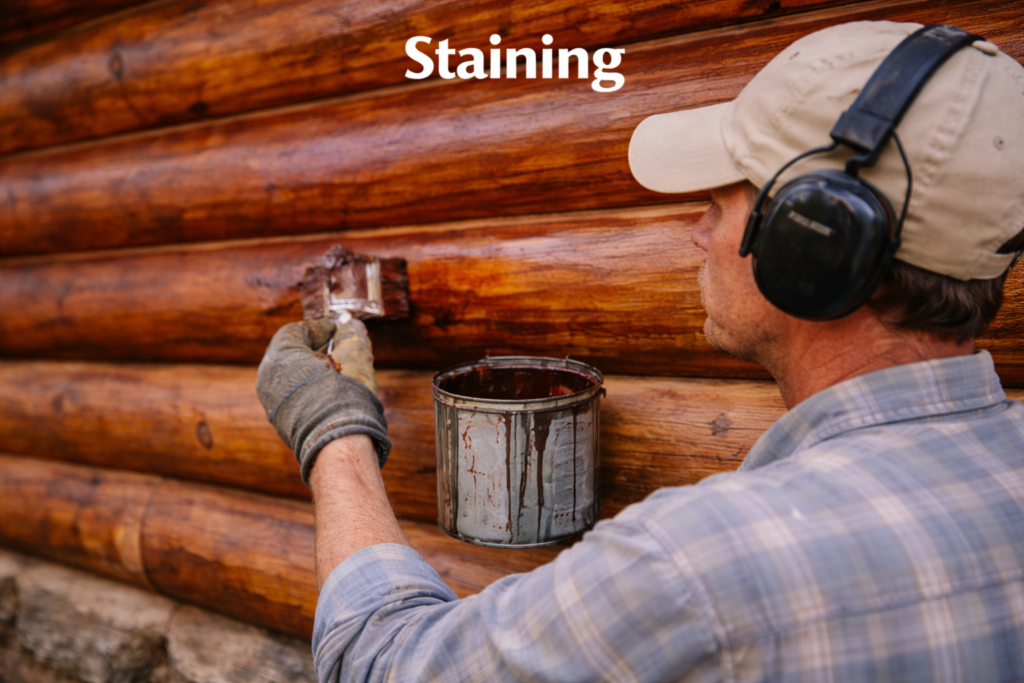
Step 5: Staining (Protect Against UV + Water)
Stain isn’t just for looks — it protects logs from UV breakdown and water intrusion. A good stain system:
- blocks UV exposure to slow fading and graying
- improves water resistance
- restores consistent color
- protects wood fibers over time
A proper staining step typically includes:
- choosing oil vs water-based stain based on wood condition
- color matching and test patches if needed
- applying the correct number of coats
- sealing end grain and high-exposure areas
Log Home Staining page: LOG HOME STAINING
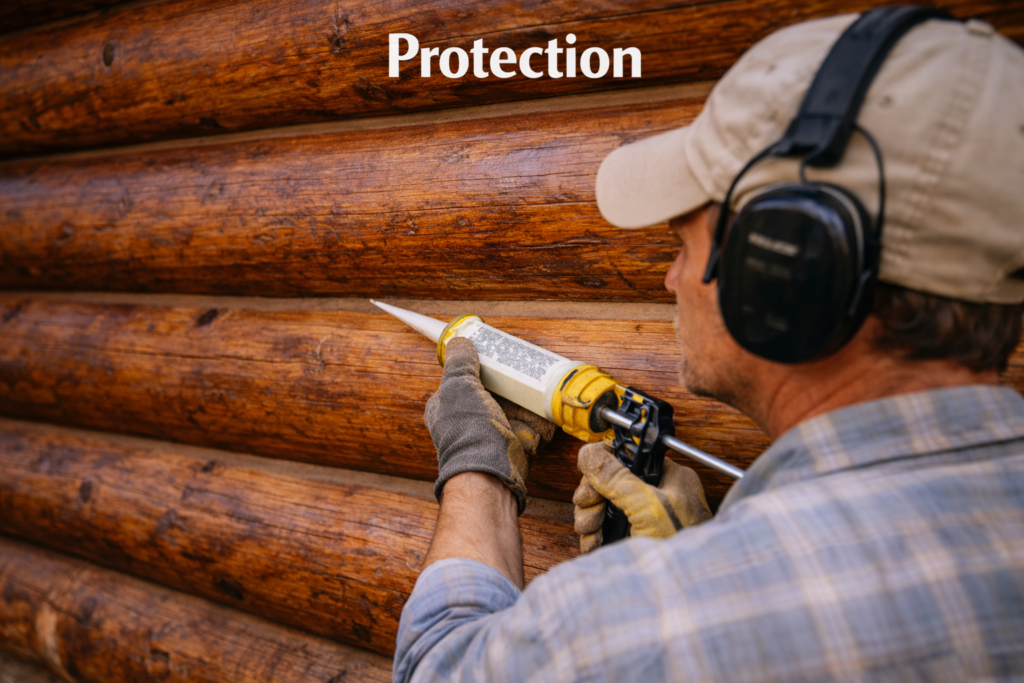
Step 6: Protection (Sealing, Chinking/Caulking, and Long-Term Maintenance)
Protection isn’t finished after stain goes on. A restoration often includes sealing and re-sealing areas that cause water entry and energy loss.
Protection steps may include:
- chinking repairs between logs
- caulking around windows/doors/trim
- sealing checks (cracks) that trap moisture
- sealing log ends (high-risk areas)
- adding a maintenance plan to prevent future failure
Chinking page: LOG HOME CHINKING
What This Process Prevents (Why It Matters)
A correct restoration process helps prevent:
- peeling stain and premature finish failure
- black staining and organic growth
- water intrusion at seams and joints
- rot spreading into structural logs
- costly replacements later
If your home is already showing signs of major failure, start here: LOG HOME RESTORATION
Get a Log Home Restoration Inspection or Estimate
The fastest way to protect your home is to identify what’s failing and why. A professional inspection helps you avoid “guesswork repairs” and gives you a clear restoration plan.
Request an estimate: CONTACT / FREE ESTIMATE