Table of Contents
- Why Industrial Masonry Fails Before It Looks Broken
- Your Masonry Inspection Checklist for Industrial Sites
- Masonry Repointing: Matching Mortar to the Original Wall
- Industrial Brick Repair and Stone Replacement Methods
- Cleaning, Sealants, and Joint Repair on Commercial Properties
- Building a Commercial Building Maintenance Plan That Holds Up
- What Drives Project Cost and How to Budget for Restoration
- Choosing a Restoration Contractor and Verifying the Work
- Frequently Asked Questions
Last Updated: October 22, 2026
Why Industrial Masonry Fails Before It Looks Broken
Most industrial masonry damage starts years before a single brick falls. Water gets in, freezes, expands, and quietly works the wall loose from the inside. By the time a facility manager notices, the repair bill has usually tripled.
This field guide from Midwest Maintenance LLC covers professional masonry restoration for industrial buildings the way we actually approach it: diagnose first, match materials to the original wall, then repair and protect. Below, we walk through the inspection sequence, repointing specs, cleaning and sealant choices, budgeting, and contractor vetting.
Water Infiltration and the Freeze-Thaw Cycle
Water is the primary cause of industrial masonry failure. It enters through cracked mortar joints, failed sealant, spalled brick faces, and porous stone, then freezes and expands inside the wall. Repeated cycles push mortar out and shear off brick faces.
Industrial buildings face this harder than houses. The National Park Service guidance on masonry deterioration describes this cycle in detail and is worth reading before any repair scope is written.
Reading Cracks, Spalling, and Efflorescence
Cracks tell you where movement is happening. Hairline cracks in mortar are usually shrinkage; stair-step cracks through brick and mortar point to settlement or thermal movement. Spalling, where a brick face chips or peels away, means water has been freezing inside that unit for years.
A common mistake is patching the visible symptom and ignoring the source. Repointing a cracked joint without finding the water path just moves the problem down the wall.
Sealing a damp wall traps moisture inside. Always confirm the wall is dry and the source of water is corrected before applying any sealer, or you risk spalling the brick face off within a season.
Your Masonry Inspection Checklist for Industrial Sites
A masonry inspection checklist for industrial sites should cover every elevation, roof line, and penetration, not just the wall you can see from the parking lot.
Work through these items on each elevation:
- Walk the full perimeter and inspect from grade to roof line
- Photograph and map every crack wider than a hairline
- Tap-test for hollow or drummy brick and stone
- Check mortar joints for recessed, crumbling, or missing mortar
- Inspect sealant and expansion joints for gaps and adhesion failure
- Look for efflorescence and rust staining below flashings
- Confirm roof drainage discharges away from the wall
- Note interior dampness or staining that maps to exterior defects
- Record parapet and coping conditions, where water often enters first
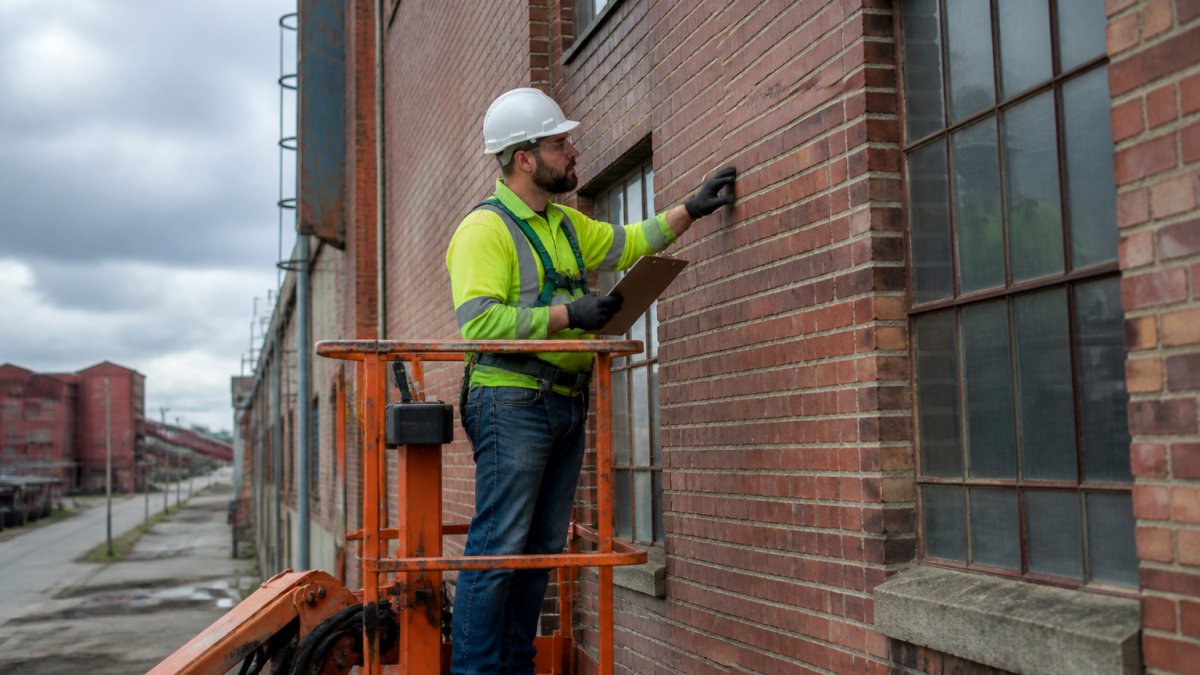
The tap test is the step most owners skip. A hollow sound means the brick has separated from the backup wythe, and that unit needs replacement, not a surface patch.
Masonry Repointing: Matching Mortar to the Original Wall
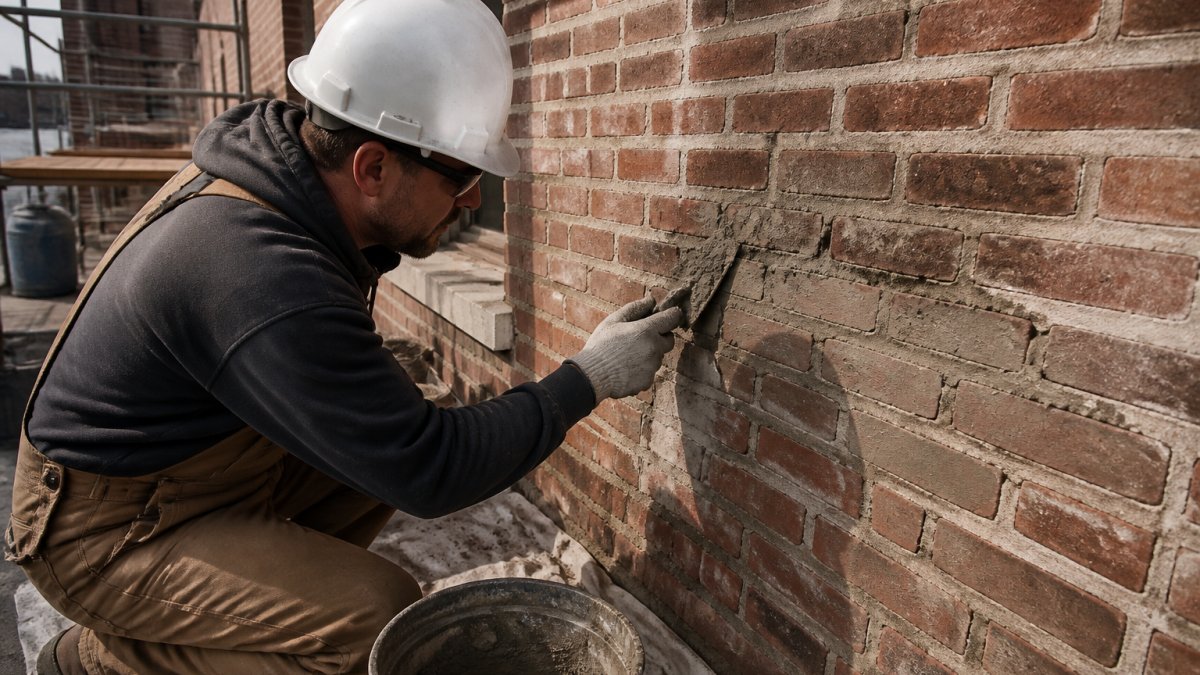
Masonry repointing is the process of cutting out deteriorated mortar and replacing it with new mortar that matches the original wall’s strength and composition.
The rule is simple: new mortar should be softer and more permeable than the masonry units. Older industrial brick was often laid with lime-rich mortar that flexes with the wall.
Repointing steps:
- Cut joints to a uniform depth, typically twice the joint width
- Remove loose mortar and dust with a brush, not a pressure washer
- Pre-wet the joint so the new mortar cures properly
- Pack mortar in layers and tool the joint to match the original profile
- Cure and check adhesion before moving up the wall
Match the joint profile too. A flush joint on a wall that was originally struck or weathered will read as a repair from a hundred feet away.
Industrial Brick Repair and Stone Replacement Methods
Industrial brick repair replaces damaged units rather than covering them. Stone replacement follows the same logic: remove the failed piece, match the replacement to the original in composition and color, and set it with compatible mortar.
For brick, cut out the damaged unit with a grinder or chisel, clean the cavity, and bed the new brick in mortar matched to the wall.
Keep a few spare brick and stone units from any demolition on site. Matching historic brick color and size later is difficult, and a stockpile of originals saves weeks on future repairs.
Cleaning, Sealants, and Joint Repair on Commercial Properties
Cleaning, sealants, and joint repair on commercial properties should be planned as one program, not three separate jobs. Aggressive cleaning damages the surface you are trying to protect, and sealant over a dirty or wet joint fails early.
Use the gentlest method that works: low-pressure washing with appropriate detergents for most masonry cleaning, and specialist methods for stubborn staining. Never sandblast historic brick or soft stone. Sealant and joint repair should follow cleaning, once the wall is dry, with backer rod and sealant matched to the joint movement expected.
Building a Commercial Building Maintenance Plan That Holds Up
A commercial building maintenance plan works when it is scheduled, budgeted, and tied to inspection findings. Reactive repair costs more and shortens the life of the wall.
Build the plan around these cycles:
| Task | Frequency | Trigger |
|---|---|---|
| Full perimeter inspection | Annual, plus after severe weather | Scheduled review |
| Sealant and joint inspection | Every 2 years | Cracking or adhesion loss |
| Gutter and drainage check | Twice yearly | Before and after winter |
| Repointing assessment | Every 3-5 years | Recessed or crumbling joints |
| Cleaning program | As conditions require | Staining or biological growth |
Facility managers of industrial sites get the most value from pairing inspection with the maintenance calendar. Catch a failed joint in year one and it is a repointing job; miss it for five years and it is a brick replacement project.
What Drives Project Cost and How to Budget for Restoration
Project cost in masonry restoration is driven by access, scope, material matching, and moisture correction, not by a flat rate per square foot. Two walls of identical size can differ in price by an order of magnitude depending on height, unit replacement percentage, and how closely the new mortar and units must match the originals. Budgeting works best when you separate one-time diagnostic costs from phased repair costs and from ongoing maintenance.
The Five Cost Drivers and How They Interact
Access. Height and obstructions determine whether the crew uses a boom lift, mast climber, or full scaffolding.
Scope. Repointing only is the lowest-cost intervention. Repointing plus unit replacement scales with the percentage of spalled or drummy brick and stone.
Material matching. Standard modular brick and off-the-shelf mortar are inexpensive.
Moisture correction. Repairing masonry without fixing the water source is a recurring cost, not a one-time one.
Phasing. Spreading work across budget years reduces annual cash outlay but adds mobilization costs each phase and can leave active deterioration untreated.
Prioritizing Repairs When the Budget Is Fixed
When the budget cannot cover every elevation, rank defects by consequence rather than by visibility:
- Water entry paths, failed flashing, open joints at parapets and copings, and sealant gaps above windows. These cause the damage that follows.
- Structural movement, stair-step cracks, bowing, and displaced units. These threaten the wall, not just its appearance.
- Active spalling and drummy units, falling masonry is a safety issue over walkways and loading areas.
- Recessed or crumbling mortar, the repointing backlog. Address before water reaches the backup wythe.
- Staining and efflorescence, cosmetic until it signals a moisture path; investigate before cleaning.
Lifecycle Budgeting
A useful planning model treats masonry as a cycle rather than a project. Inspection costs are annual and predictable. Repointing typically recurs on a multi-decade cycle depending on mortar and exposure. Sealant replacement recurs more frequently, often every several years on movement joints. Cleaning is condition-based.
For a firm number, request a site assessment and a written scope from a qualified restoration contractor. At Midwest Maintenance LLC, we offer free consultations so owners can understand scope and priorities before committing budget.
Choosing a Restoration Contractor and Verifying the Work
Choose a restoration contractor on demonstrated masonry experience, material knowledge, and references from comparable industrial projects, not on price alone. Then verify the work with a written closeout process that includes mockups, documentation, and follow-up monitoring. The verification step is where most industrial projects fall short: the work looks finished, but no one confirms the mortar matches the approved sample, the joint profile is consistent, or the water path was actually corrected.
What to Ask Before Awarding the Work
- References from industrial or commercial masonry projects of similar scale and material
- Samples of mortar matching and joint profiles from prior work
- A written scope that names materials, mix proportions, methods, and access plan
- Proof of insurance and a site-specific safe work plan for elevated access and occupied facilities
- A named superintendent or foreman who will be on site daily
Mockups and Material Approval
Before full-scale work begins, require a mockup panel on a representative wall area. The mockup should demonstrate joint depth, mortar color and tooling profile, unit replacement fit, and cleaning method. Approve the mockup in writing and use it as the benchmark for the entire project. This single step prevents the most common failure: a repair that is structurally sound but visually mismatched because the mortar color or joint profile was never confirmed against the original.
Documentation and Closeout
Require photo documentation of each elevation before, during, and after repair, keyed to the inspection map. At closeout, the contractor should provide:
- A list of materials used, including mortar mix and unit sources
- Confirmation that joint depth and profile match the approved mockup
- Sealant product data and application records
- A warranty statement and recommended maintenance schedule
- A post-repair inspection report noting any areas to monitor
Post-Repair Verification and Monitoring
Walk the wall after cure with the contractor and check joint depth and profile, confirm mortar matches the approved sample, and look for efflorescence or dampness that would indicate an unresolved water path. Schedule a follow-up inspection after the first freeze-thaw season, the first winter is when adhesion failures and trapped moisture show up. Record the baseline so the next inspection cycle has something to compare against.
Ask the contractor to leave a small quantity of the approved mortar and a few matching units on site. Future repairs will be easier to match, and the stockpile becomes part of your maintenance documentation.
The best protection against repeat masonry restoration cost is a documented inspection baseline, an approved mockup, and a maintenance plan that acts on both. Repair without diagnosis just resets the clock.
Frequently Asked Questions
What does industrial masonry restoration include?
It covers the full building envelope: a project assessment of the structural condition, masonry cleaning and surface cleaning, masonry repointing and mortar replacement at the mortar joints, industrial brick repair and stone repair, terra cotta and limestone patching, sealant and joint repair, and water infiltration control. Historic restoration work adds material selection matched to the original brick and mortar. The restoration scope depends on what the inspection finds, which is why a documented masonry inspection checklist comes first.
How do you know when an industrial building needs masonry repairs?
Watch for spalling brick faces, crumbling mortar joints, stair-step cracking, white efflorescence, rust staining, and water showing up inside after rain. Mortar joints that recede more than about a quarter inch, or that crumble when probed, signal it is time for repointing. Any crack wider than a hairline, or one that has widened since the last inspection, deserves a structural review before cosmetic work. Catching these early keeps a small repointing job from turning into brick replacement.
How is mortar repointing different from masonry replacement?
Repointing, or tuckpointing, cuts out deteriorated mortar and packs new mortar into the joints, leaving the original brick in place. Masonry replacement removes damaged units and sets new brick or stone. Repointing is cheaper and preserves the wall’s appearance, but it only works when the brick itself is sound. If more than roughly a quarter of the units in an area are spalled or cracked, replacement usually makes more sense. A restoration contractor should tell you which one your wall actually needs.
How can building owners maintain restored masonry?
Put masonry on a commercial building maintenance plan with a walk-through every spring and fall, checking mortar joints, sealant lines, flashing, and roof drainage. Clear gutters and downspouts so water moves away from the wall. Re-caulk control joints before winter. Keep a photo log of each inspection so you can spot changes. Most failures start with water, so drainage and joint repair do more for durability than any coating. Midwest Maintenance LLC offers free consultations to set up a schedule.

Comments are closed